Connect the device to your computer using a Universal Serial Bus (USB)
connector.
-
Click Select Device.
The name and serial number of Nordic Semiconductor devices attached to
your computer are displayed.
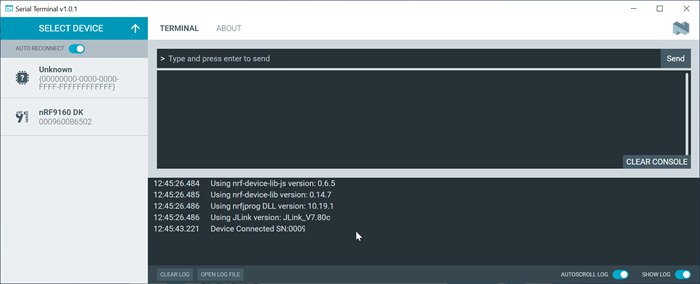
Figure 1. Select Device window
Note: Depending on the application firmware on the
device, you might see J-Link in place of the product
name.
-
Click the device you want to use.
If the device has more than one port, Serial Terminal selects the serial port with the lowest virtual
serial port index, see Selecting a serial port.
You are free to select another serial port.
-
Click Connect to port to connect to the selected serial
port and, optionally, reset the device.
Depending on the application firmware running on the device, you might see
logging output.
You can view information on the device's connection status and settings in
the Serial Terminal
LOG view.
The next time this device is used, Serial Terminal selects the last
connected serial port and attempts to connect to that port again if
AUTO RECONNECT is enabled.
-
Select Shell or Line Mode
depending on the device's capabilities.
-
Send a command to the device by typing or pasting it at the top of the
terminal window and pressing enter or choosing Send when
in Line mode
 Note: Depending on the application firmware on the device, you might see J-Link in place of the product name.