The nRF Connect Bluetooth® Low Energy app requires a serial port connection to a local Development Kit (DK) or dongle. The nRF System on Chip (SoC) on the device is controlled by the app which sends serialized commands to it over a serial port.
To set up a local device, complete the following steps:
The name of the selected device is displayed on the navigation bar.
If the device has not been used
with the nRF Connect Bluetooth Low Energy app before, you may be asked
to update the J-Link firmware and connectivity firmware for the device. You need to
have the correct connectivity firmware on the nRF SoC to continue. When the nRF SoC
has been programmed with the correct firmware, the nRF Connect Bluetooth Low Energy app proceeds to connect to it over Universal Asynchronous Receiver/Transmitter (UART). When the connection is established, the device appears in the
main view.
Note: When using OS X, an issue with the SEGGER J-Link OB
firmware leads to the corruption of long packets over UART. See www.nordicsemi.com/nRFConnectOSXfix for more
information.
Figure 1. Local device view
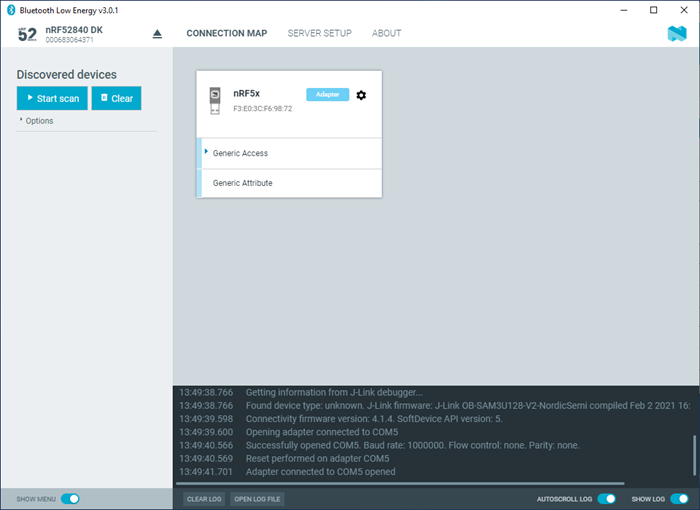
The local device is labeled Adapter to signal that it is connected locally to the computer. The device name and Bluetooth device address are shown at the top. The attribute table of the device is shown below them.
To expand a menu that shows actions and configurations available for the
local device, click the Device options icon ![]() .
.