Running a first test

Before you start developing, program and run a precompiled application on your development kit to ensure that the kit functions as expected and the communication between your computer and development kit works.

  1. Download the latest compatible version of the nRF5 SDK.

    The nRF5 SDK contains precompiled HEX files of the most common examples. Extract the zip file into a folder of your choice.

    For information about which SDK supports which IC revisions, check the compatibility matrices.
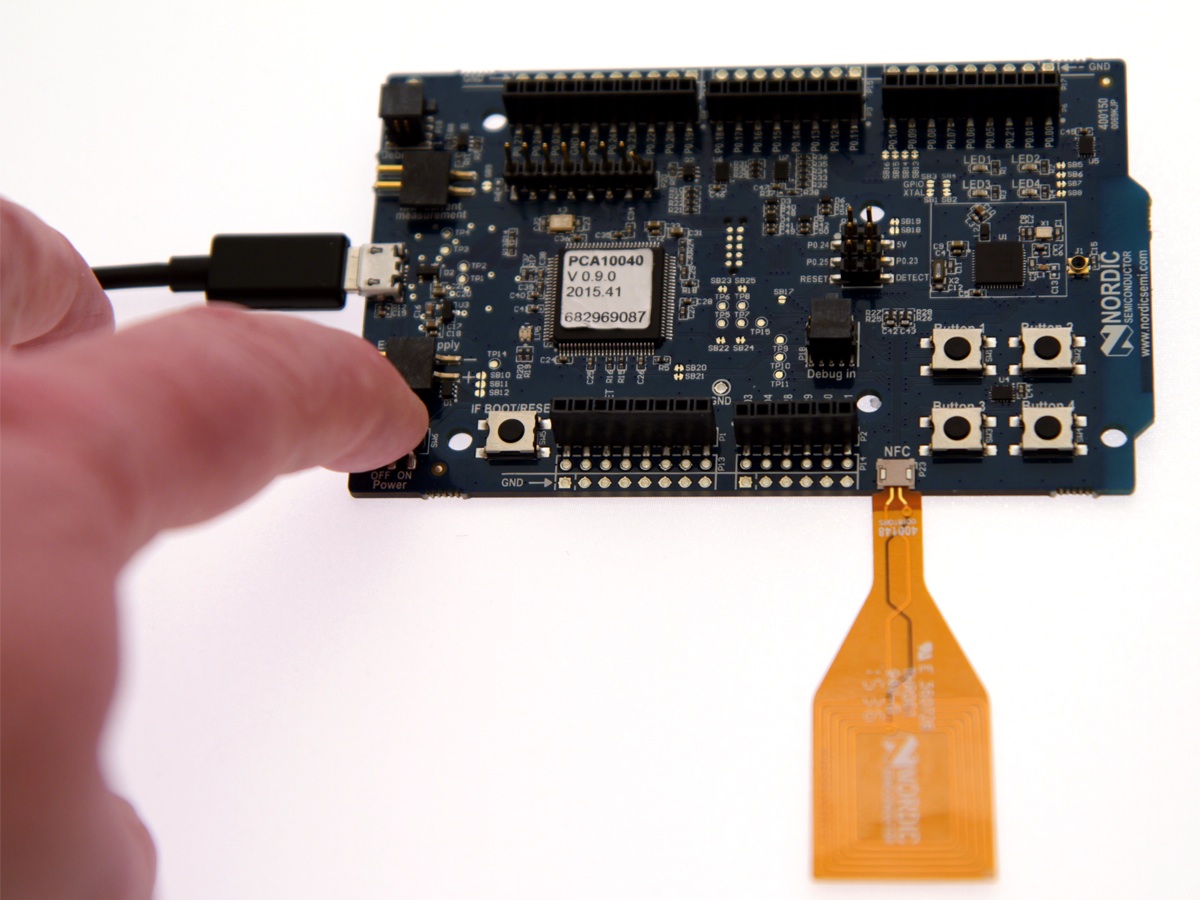
  2. Power up the development kit:
    1. Connect one end of a micro-USB 2.0 cable to the Universal Serial Bus (USB) connector on the kit and the other end to one of your PC's USB host ports.
    2. Slide the power switch to ON.
    Power up the development kit
    Observe that LED1 starts blinking.
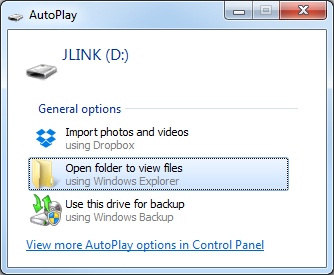
  3. Open a file explorer and confirm that the development kit has appeared as a removable drive named JLINK.
    On Windows, you should see a pop-up window similar to this:
    JLINK connected (on Windows)
  4. In the folder where you extracted the nRF5 SDK, navigate to examples\ble_peripheral\ble_app_hrs\hex.
  5. Select the HEX file that corresponds to your development kit and copy it to the JLINK drive.
    The development kit will now restart and run the application. Note that while restarting, the JLINK drive will be disconnected.
  6. Download and install the Nordic nRF Toolbox app from Google Play or App Store.
  7. Open nRF Toolbox.
    Note: Enable Bluetooth® if prompted.
  8. Tap HRM.
  9. Tap Connect.
  10. Select Nordic_HRS.
    A simulated heart rate and battery charge percentage is displayed.
For more advanced testing scenarios, see Testing the application.
Next, continue to set up your development toolchain and build and program an application from the source code.