The Smart Remote 3 for nRF52 can be connected to a host system with Bluetooth® Low Energy.
nRFready Smart Remote will only pair and work with Bluetooth 4.0 and HID-over-GATT compliant host systems. The
nRFready Smart Remote 3 functionality will vary depending on the supported features in
these platforms.
-
Pairing mode is automatically selected if the Smart Remote 3 wasn't bound to a
previous host. To delete existing bonds and enter into pairing mode, power up
the Smart Remote 3 while pressing the orange button between
Channel+ and Volume+
buttons.

-
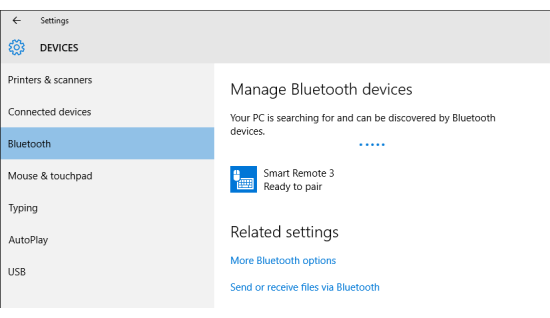
On your computer, navigate to the Bluetooth menu (press
Windows key or open the Start
menu and type Bluetooth).
-
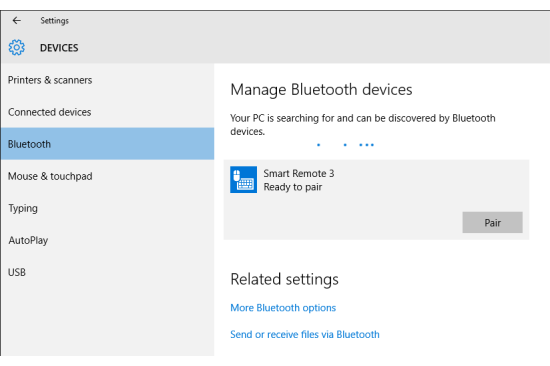
When discovered, you will see Smart Remote 3 in the list over Bluetooth devices. Select it and click
Pair to begin pairing.
-
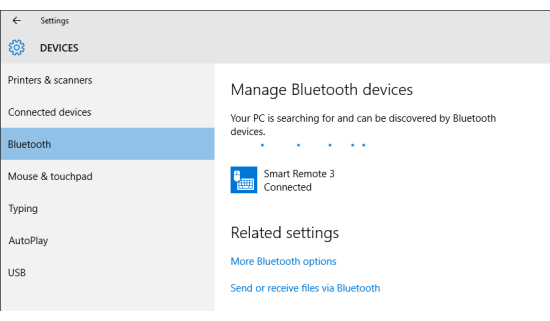
After successfully pairing, the device will show up as connected in the list of
Bluetooth devices.