If you are using a version of the SDK that supports SEGGER Embedded Studio (SES), thus nRF5 SDK v14.1.0 or later, you should open one of the supplied SES projects and skip this step. If you are using an older version of the SDK, for example, nRF5 SDK v12.3.0 for nRF51 Series devices, you must create your own SES projects based on the supplied Keil projects.
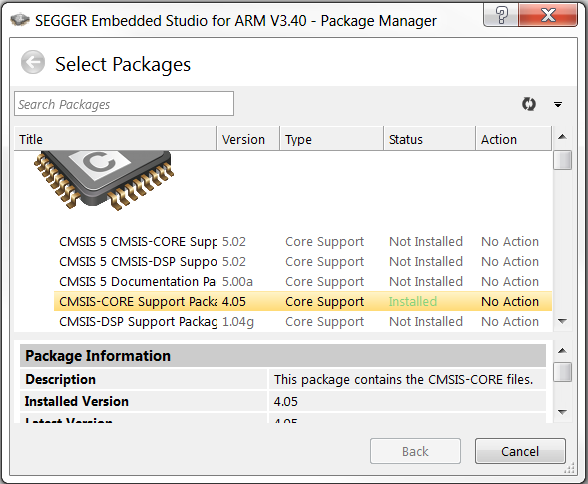
Before you begin, install the CMSIS-CORE Support Package. To do so, open SES, go to , and select and install CMSIS-CORE Support
Package.
Figure 1. SES Package Manager
Complete the following steps to import a Keil project into SES:
-
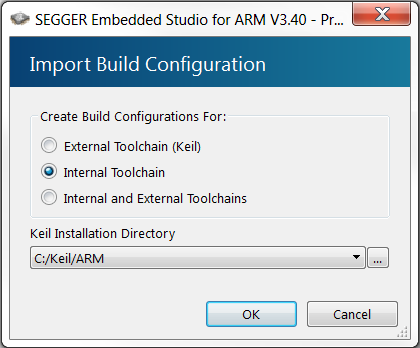
In the Import Build Configuration window that appears,
select Internal Toolchain.
-
If the project that you imported contains a Target
for flashing the SoftDevice, delete this Target in
SES:
- Select .
- Under Public Configurations, select the Target (for example, flash_s130_nrf51_2.0.1_softdevice).
- Click the - symbol to remove the Target.
The build configuration should now look similar to this: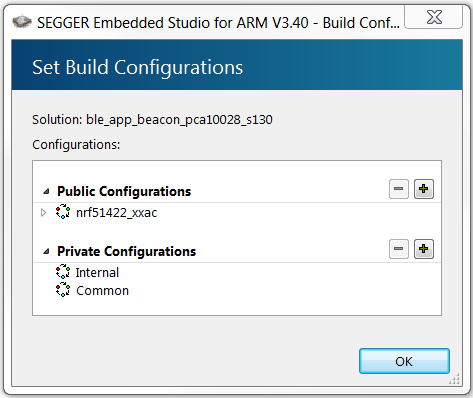
-
Add the nRF5 MDK files that are required for startup and system setup.
In Keil µVision, these files are provided by the nRF_DeviceFamilyPack. Since this pack is not available for SES, you must add them manually to the SES project.
- Download ses_nrf51_startup.s and ses_nrf52_startup.s and save them in a new folder SDK_dir/components/toolchain/embedded_studio.
- In the Project Explorer, navigate to Internal Files and remove the Cortex_M_Startup.s file.
- Right-click Internal Files and select Add Existing File.
- Browse to the SDK_dir/components/toolchain/ folder and select the .c file that corresponds to your device (for example, system_nrf52.c).
- Right-click Internal Files and select Add Existing File again. This time, select the startup file that you downloaded, for example, SDK_dir/components/toolchain/embedded_studio/ses_nrf51_startup.s.
The Project Explorer should now look similar to this: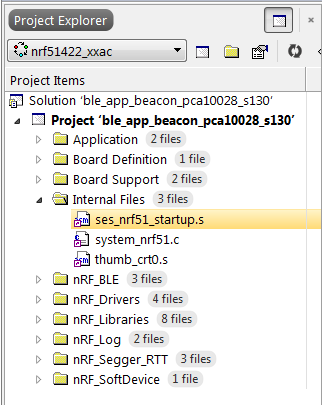
-
Include the device header files in the project:
- Right-click your project and select Edit Options.
- Select Preprocessor.
- Add the following path to the User Include Directories field: ../../../../../../components/device
The user include directories should now look similar to this: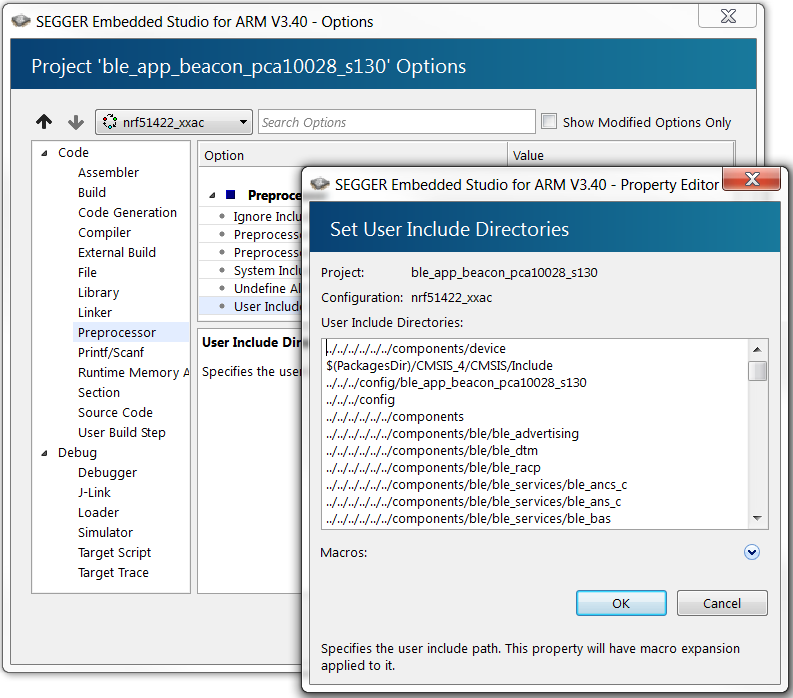
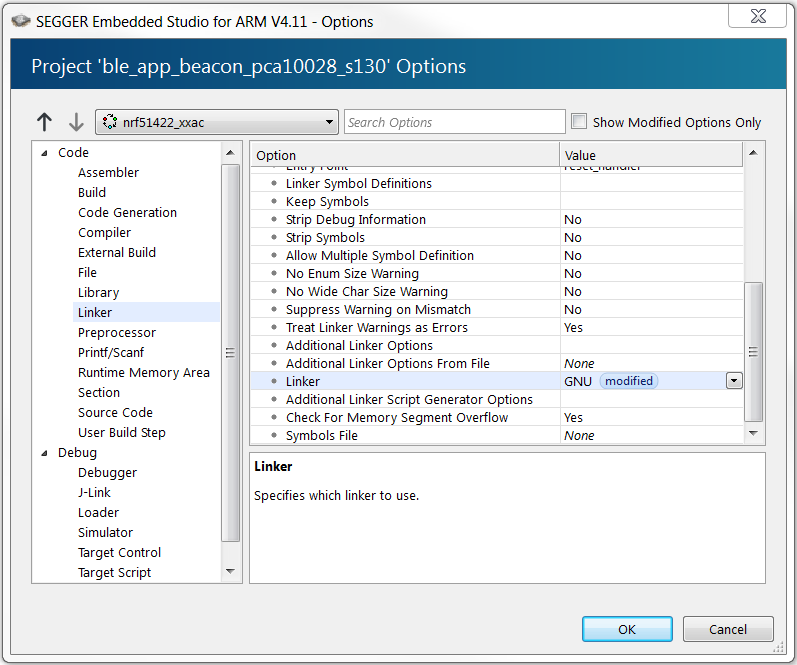
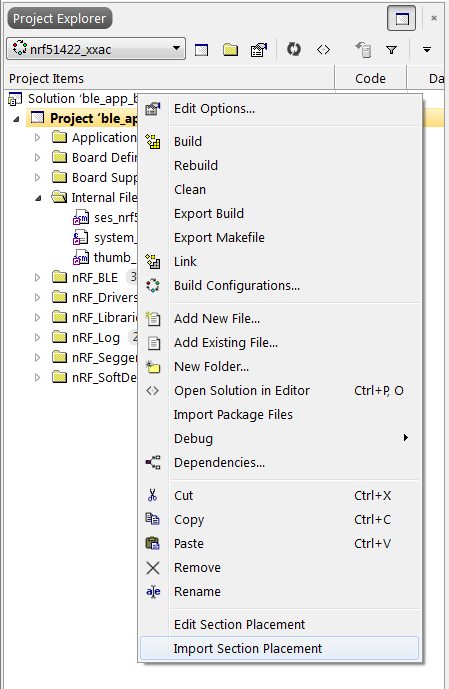
- If your project uses modules that require section variables (for example, the Peer Manager, Flash Data Storage, or Flash Storage), define where in the flash information from these modules should be stored.