Important: Before you run this example, make sure to program the SoftDevice.
The purpose of the ANT Debug example is to show how to use ANT debug messages. Debug messages are specially formatted messages that are usually sent over a separate ANT channel. They provide information about the device that may be useful when debugging. Debug messages are received by an application such as ObservANT, which can decode, display, and log the information. Refer to the ObservANT User’s Manual for more information about using debug messages.
You can find the source code and the project file of the example in the following folder: <InstallFolder>\examples\ant\ant_debug
This example uses the following elements:
- One development board to run the reference code.
- One ANT USB stick connected to the PC application ObservANT to view the debug messages.

The ANT Debug example is essentially the ANT I/O TX example with an additional channel for debugging messages, so you can use the two examples together.
Pushing and holding Button 1 for BSP_LONG_PUSH_TIMEOUT_MS milliseconds will cause an error. You can use this mechanism to test additional debug information.
Testing the ANT Debug example
Note: You can use a custom channel or encryption when running any of the ANT examples. When adding a new channel or encryption, remember to update SoftDevice ANT event handler configuration.
- Compile and program the ANT Debug example.
- Copy the config.txt file that is located in the ant_debug project directory to the directory where ObservANT is installed. This file is used by ObservANT to format the received debug fields.
- Open the PC application ObservANT.
- Open a channel on ObservANT using the Channel ID: 0, 8, 1.
- Observe the debug messages that are received by ObservANT. Pressing the buttons on the board will have an effect on the debug values.
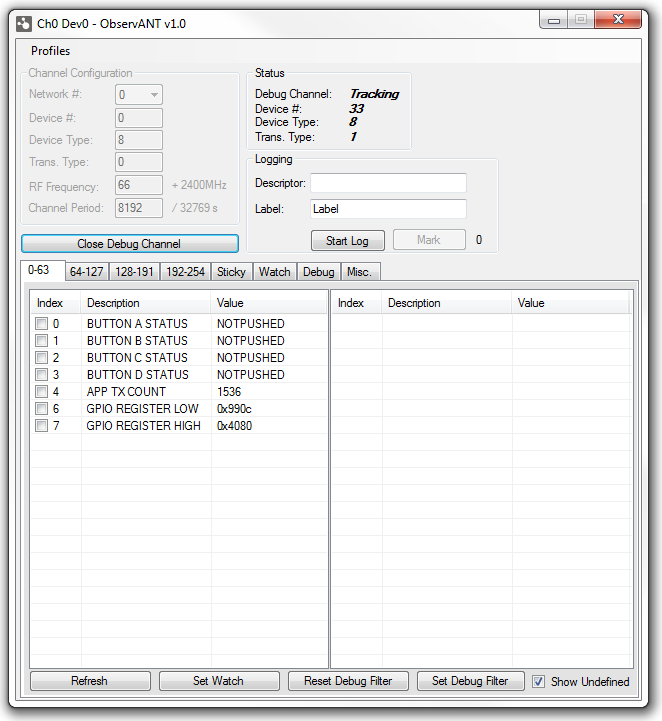 ObservANT
 - In ObservANT, you can set a filter to change which debug fields are transmitted. To do this, check the boxes located next to the desired fields and click Set Filter.
- You can send a custom debug command by sending an acknowledged message from ObservANT to the device. Use the Send Acknowledged box under the Misc. tab. Sending any message with the first byte set to 0x42 will signal the device to turn on all the LEDs and any other message will turn them all off.
- Push and hold Button 1 for BSP_LONG_PUSH_TIMEOUT_MS milliseconds. Notice the two additional debug fields in ObservANT.